Figure 2.4.2 The layout for the tinychip, including padframe. Back to 2.0 METHODS
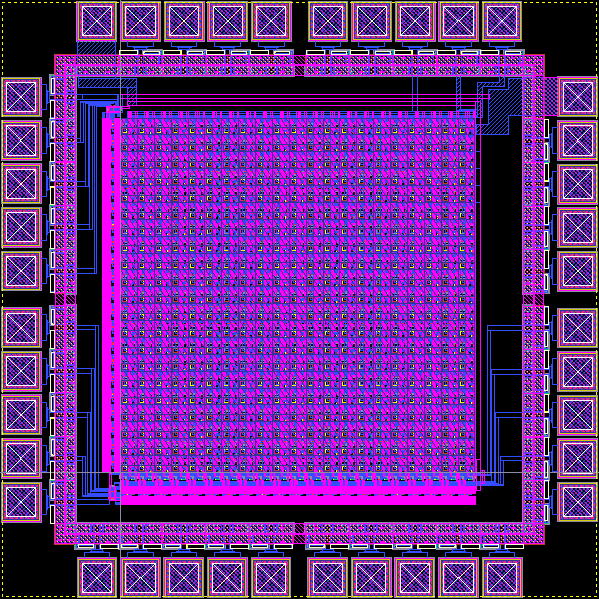
Figure 2.4.2 The layout for the tinychip, including padframe.
Back to 2.0 METHODS